

How To Draw Wolf Fur Texture For 3d
Realistic fur is very difficult to draw—that'southward why digital artists often use custom brush sets for this purpose. However, while they brand drawing fur easier, they all the same don't make information technology piece of cake. So in this tutorial I'll evidence you how to use such a fur brush pack in your art process.
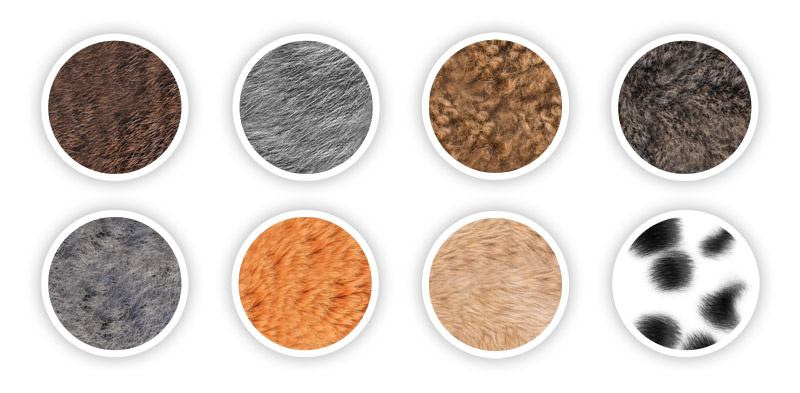
Recently I've published a curt tutorial on Envato Tuts+ on how to import brushes into Sketchbook Pro. I've created a nice brush set with fur textures equally an example, and you can download it in that tutorial for free! This is exactly the set I'll be using today.

What Not to Exercise
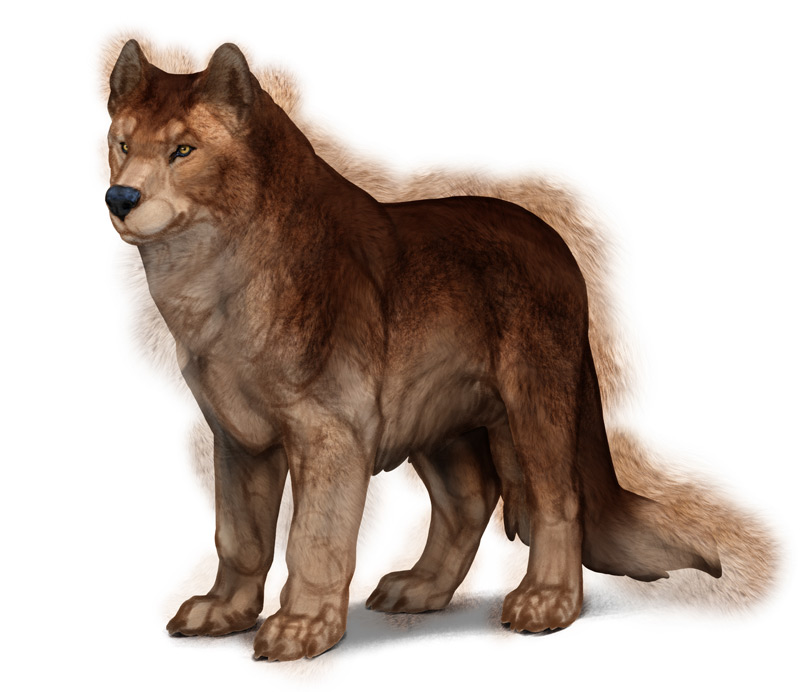
Because these brushes are colorful, you may be tempted to use them on their own—just pigment over the whole body, and then add together the shading to go far less flat.
Unfortunately, no matter how realistic a unmarried stroke looks, it doesn't simply translate to the whole trunk. To make the torso look fluffy, and non simply "covered with a photo texture", you need to put much more than work into the whole process. Are y'all ready?
What to Practise Earlier Adding Fur
Stride i
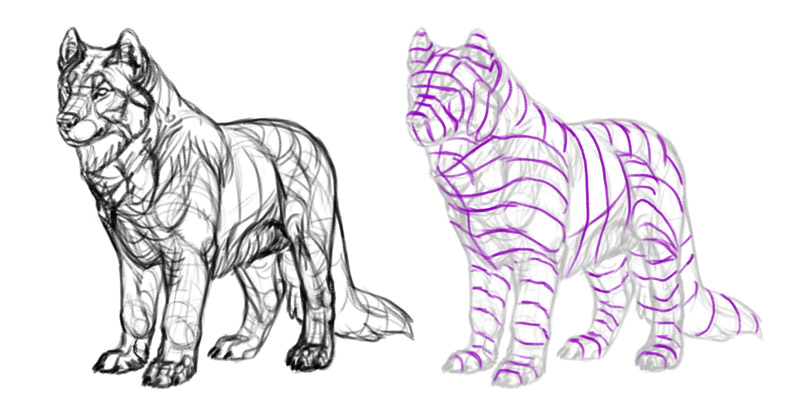
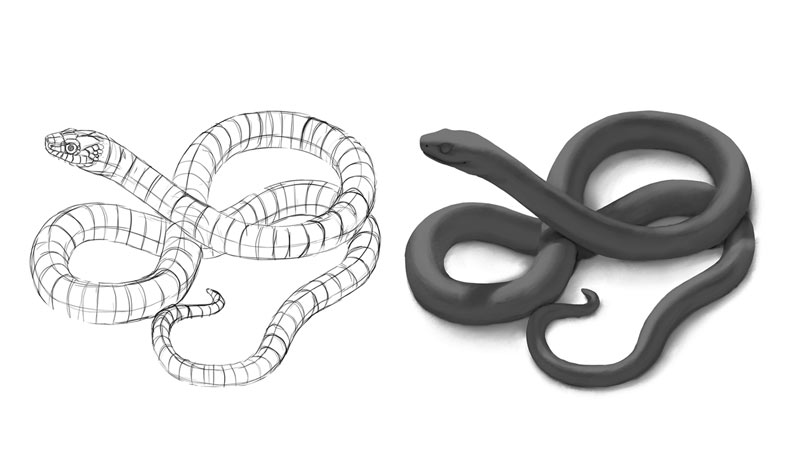
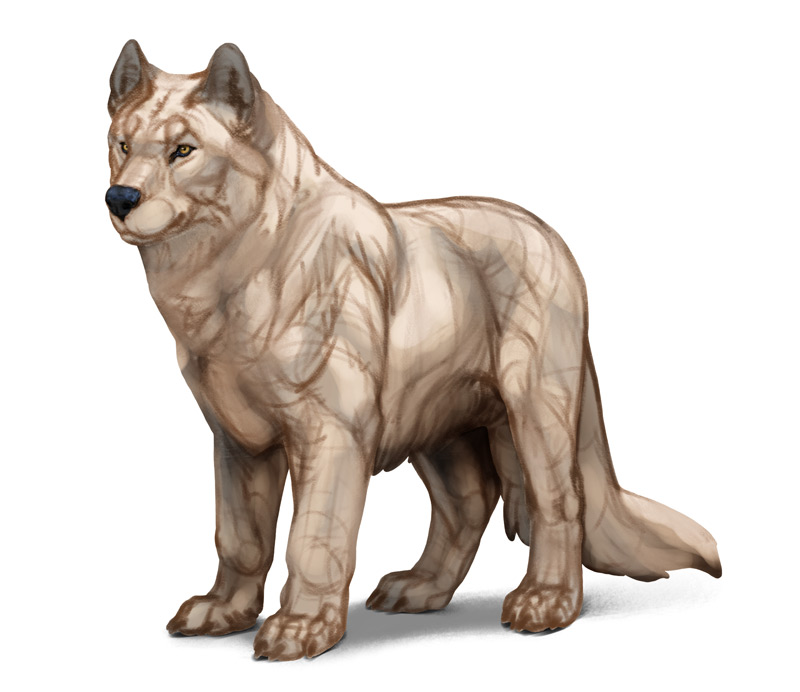
First, it's not necessary to describe a perfectly clean piece of line art, if you intend to have all the lines covered in the end. Instead, it's better to create a sketch focusing on the 3D form of the body.
The 3D course is really of import—fur changes its shape depending on its position and perspective, and then you demand to know the curves of the surface you're putting it on. You don't have to draw all the contours, only make certain you tin can at least imagine them.
If you want to follow this tutorial step by step, you tin download my sketch here.
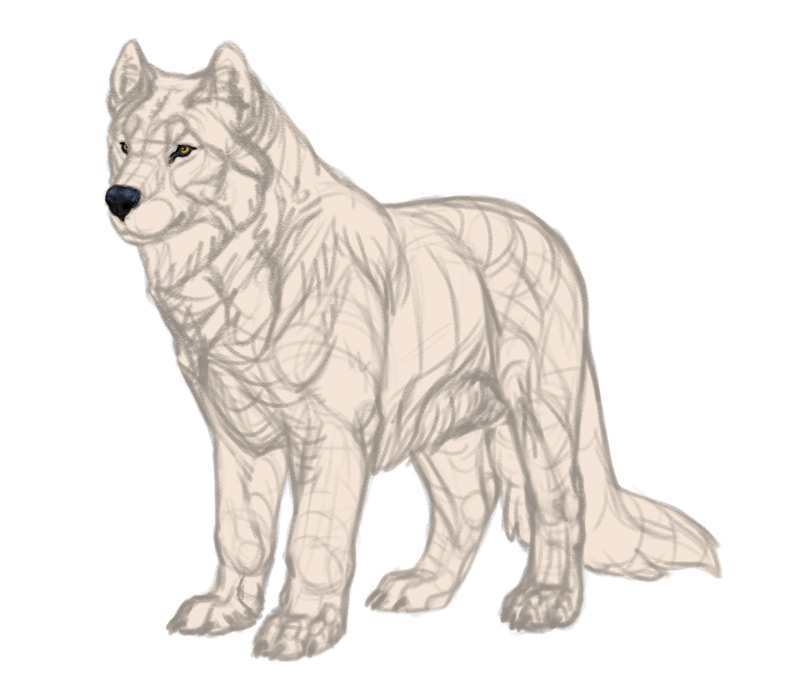
Step 2
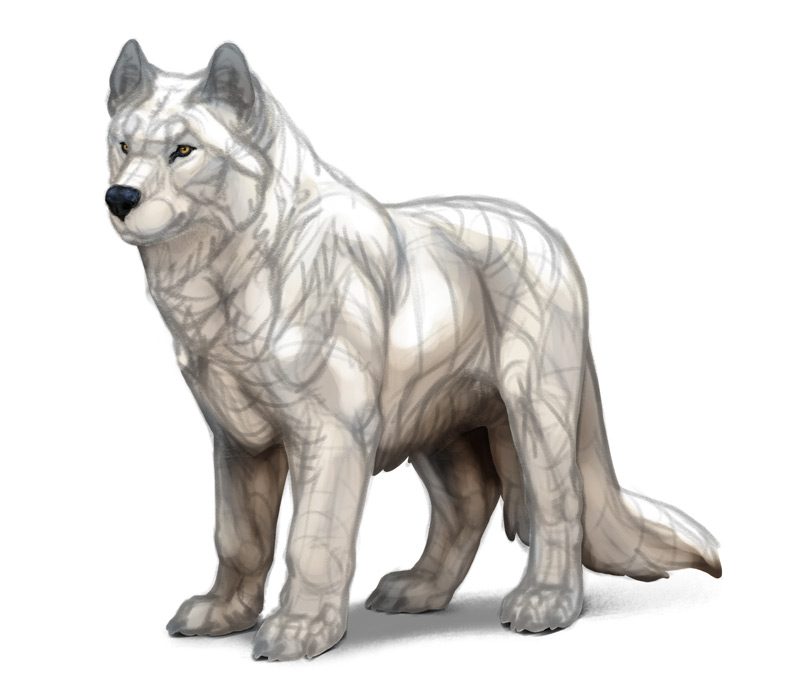
Next, information technology's adept to create a clipping mask to keep the fur within the outline of the torso. It's likewise practiced to describe the details that have nada to practice with fur (optics, nose, horns) on a divide layer. These details will exist a sort of a point of reference—they volition tell you what "finished" looks like, constantly reminding you of what your fur lacks.
Pace 3
Create a shading layer between the main mask and the details. You tin can learn more than almost shading here:
Digital Drawing for Beginners: Basics of Digital Shading
In the real world, low-cal and shadow are all we need to see the objects around u.s.a.. In art, light and shadow are translated into…
Step 4
If you want a realistic look, you'll take to remove the lines at i point. But if you lot hide the line art for a moment, yous'll see that the lines add a lot of details to the body. To solve this trouble, you can smudge over the lines to turn them into detailed shadows. For this purpose I've used the Blender brush from my Shadowbeast set:
Shadowbeast: The Making Of
Gothic was the first cRPG game I've ever played, and since and so naught really came close to it. Its world felt truly alive….
Also, it's good to make these shadows warmer. To exercise this, lock transparency of the line art layer (it'south the lock icon on the right side of the layer) and pigment on information technology with dark ruby-red/brown. Change the Blend Style of the layer to Multiply, and play with the Opacity to achieve the most realistic issue.
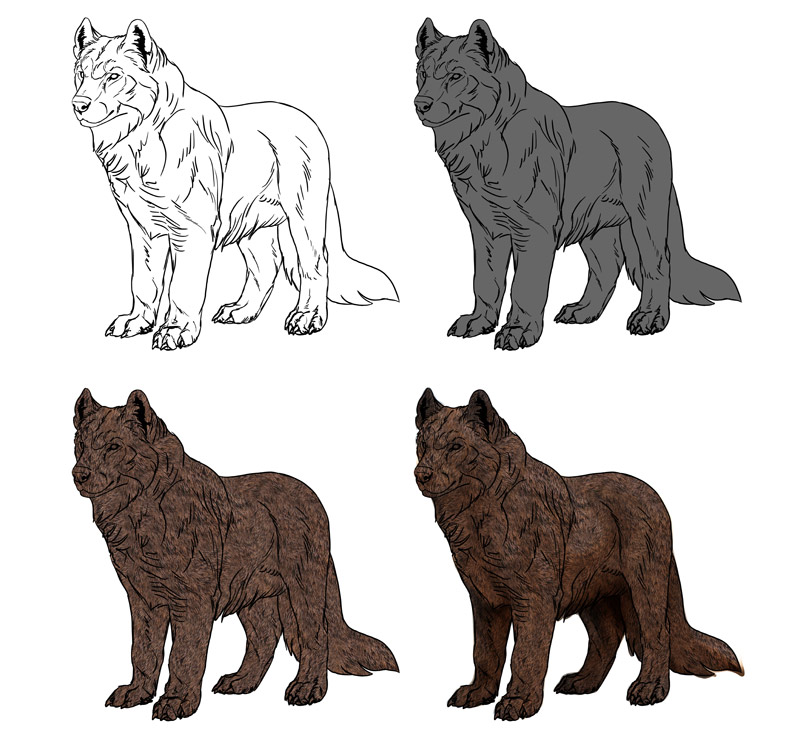
Pace 5
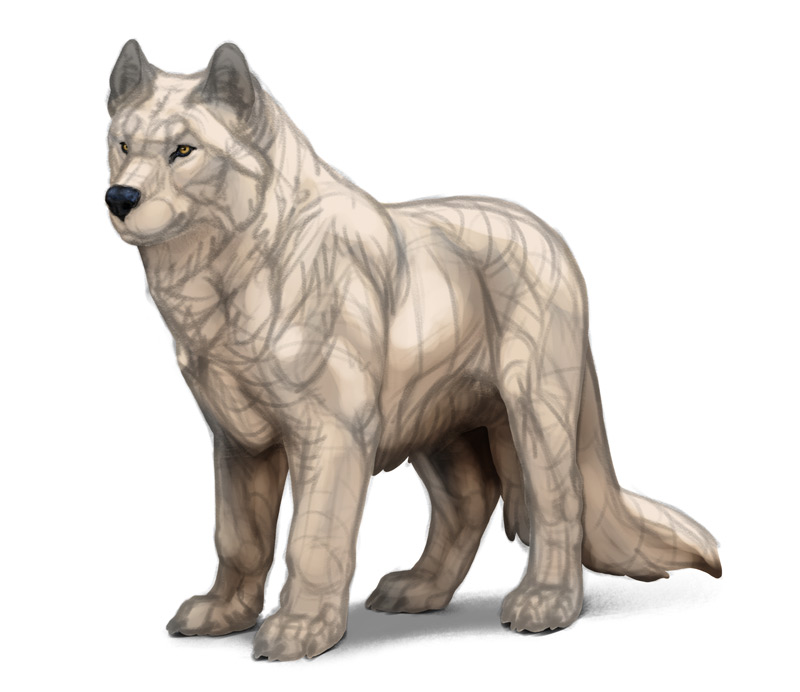
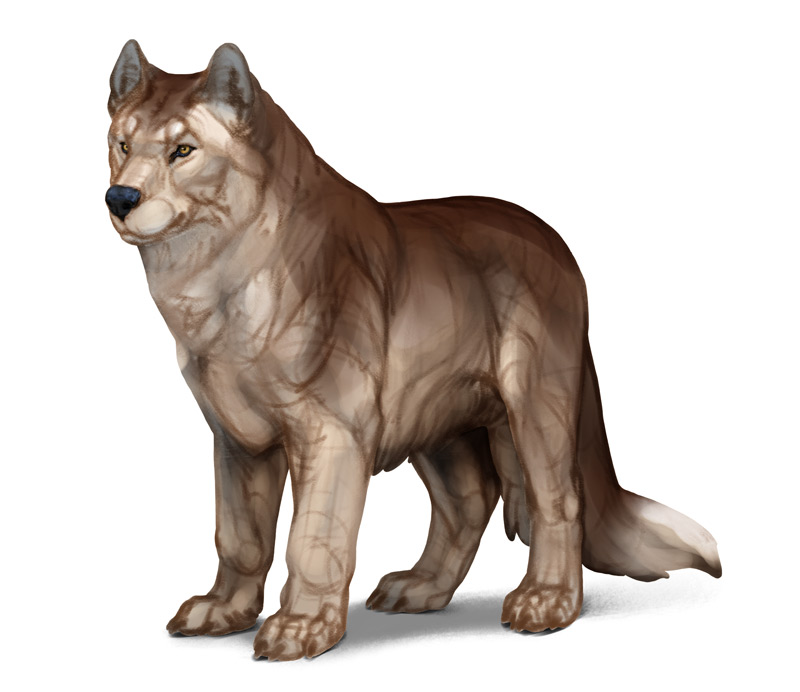
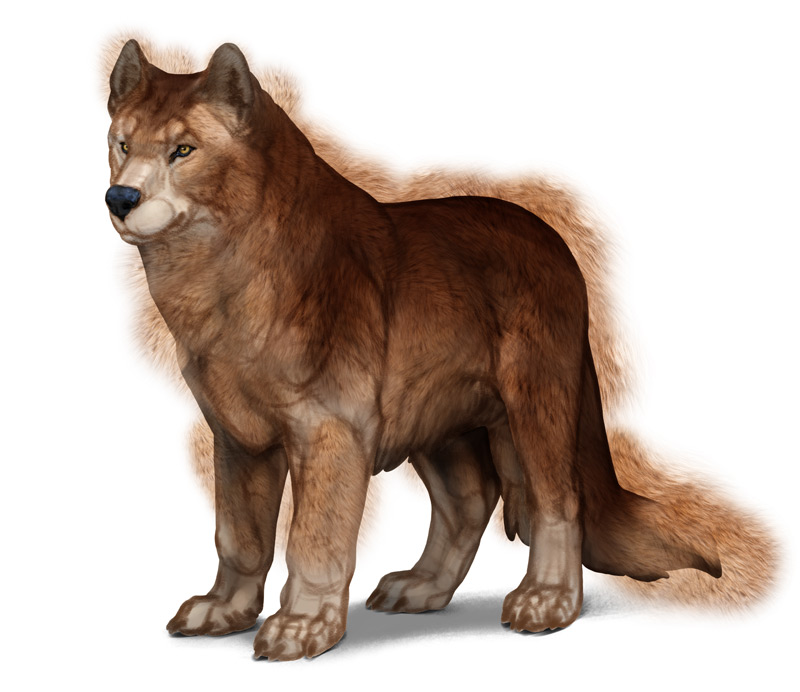
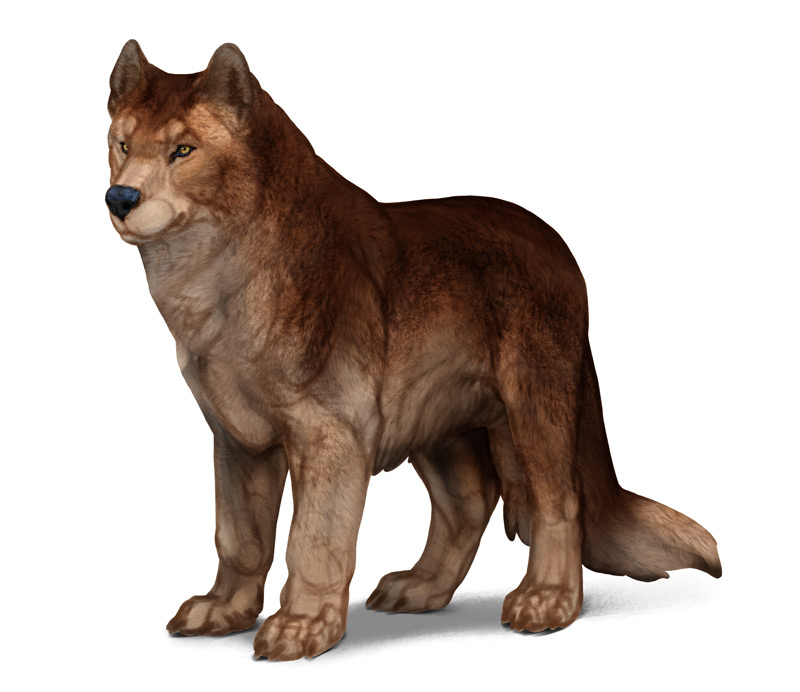
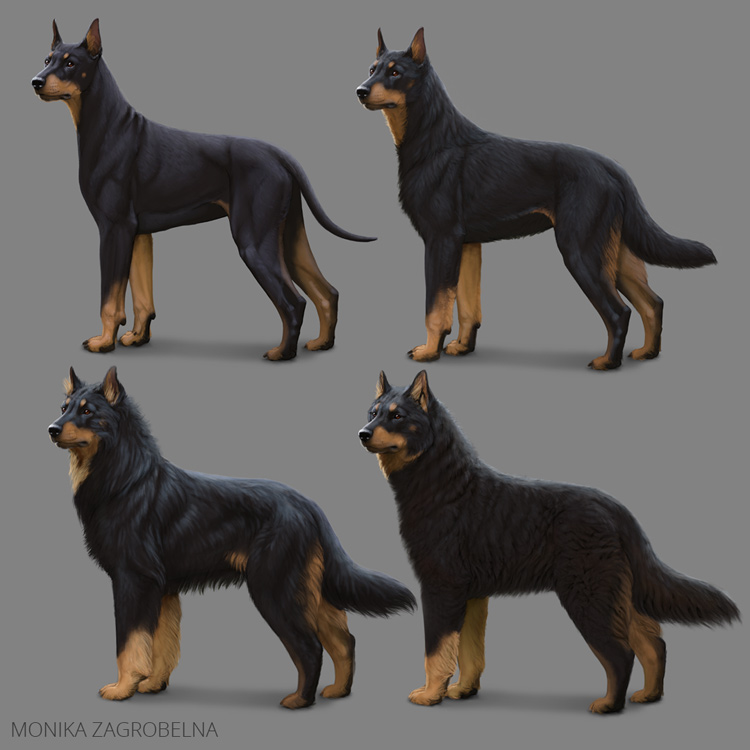
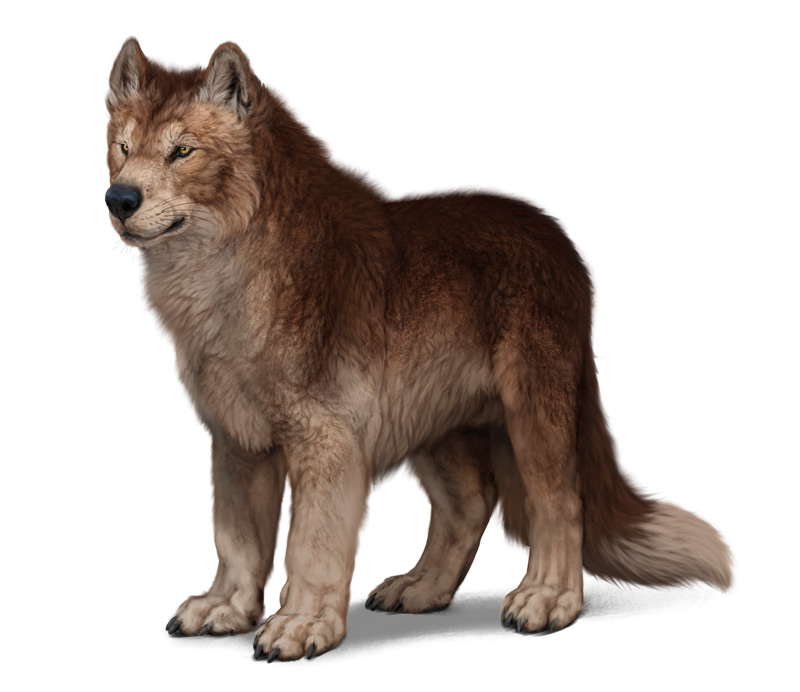
Now get back to the main mask layer and add together the colors. Avoid pure black and pure white—they're very hard to shade. Instead, employ dark chocolate-brown for fluffy fur, nighttime desaturated purple for sleek fur, and creamy white for light fur.
How to Add Fur Textures
As y'all tin can see, our drawing looks pretty nice. Not very detailed, but squeamish nonetheless! So this is where the fur castor pack comes to assist—to make information technology all look more detailed.
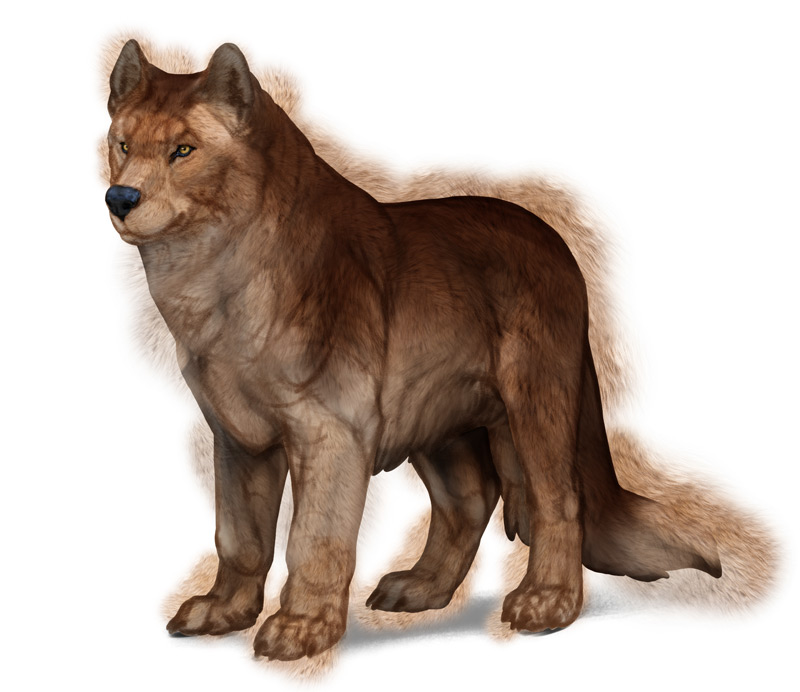
Footstep 1
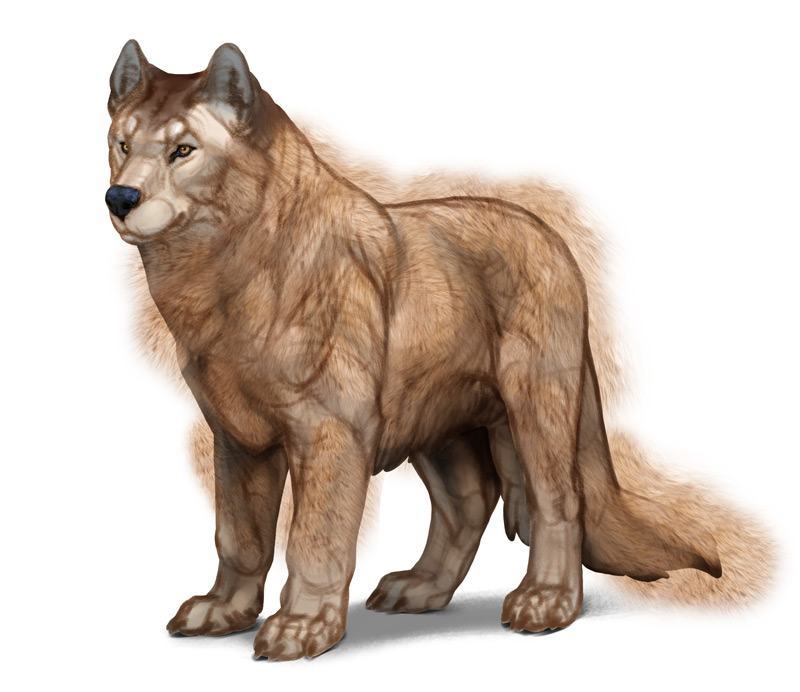
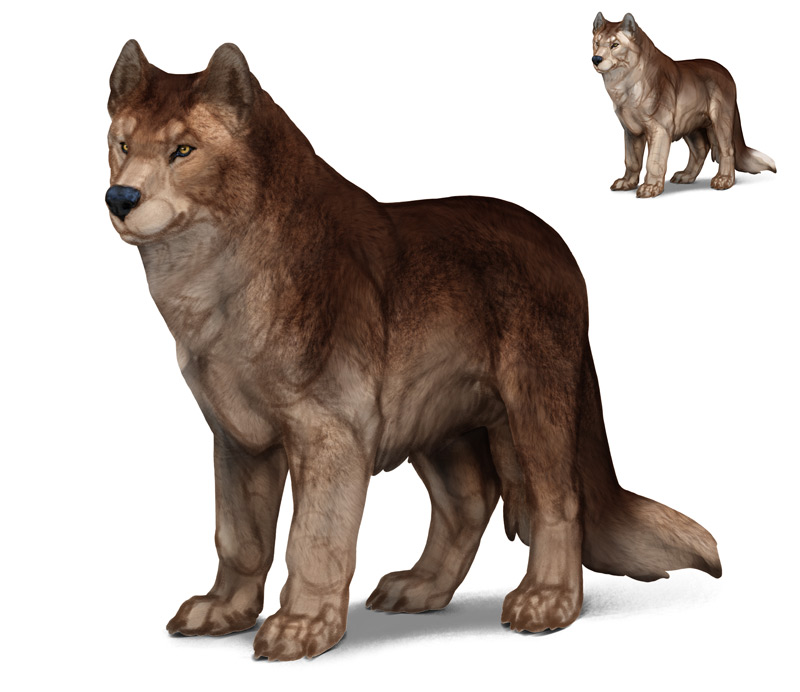
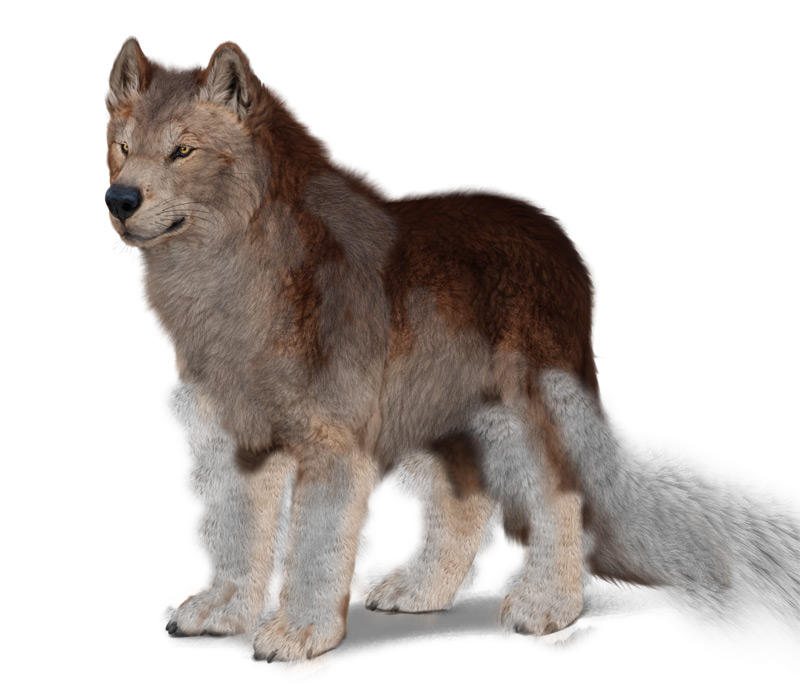
Create a new layer between the colour layer and the shadow layer. Pick the castor that seems to contain the texture of the fur that your beast has on most of its trunk. In my example, this is the Smooth brush. Adjust its size and paint over the torso, always thinking nearly the 3D form of the surface you're covering with fur.
Step 2
If wee want to make the fur a part of the colors that are already in the picture, we need to change its Alloy Way. What Blend Mode to utilise? It will depend on the type of the texture you used. Generally, information technology's best to examination Multiply, Overlay, and Soft Light to come across which one works the all-time.
In this case I've used Multiply.
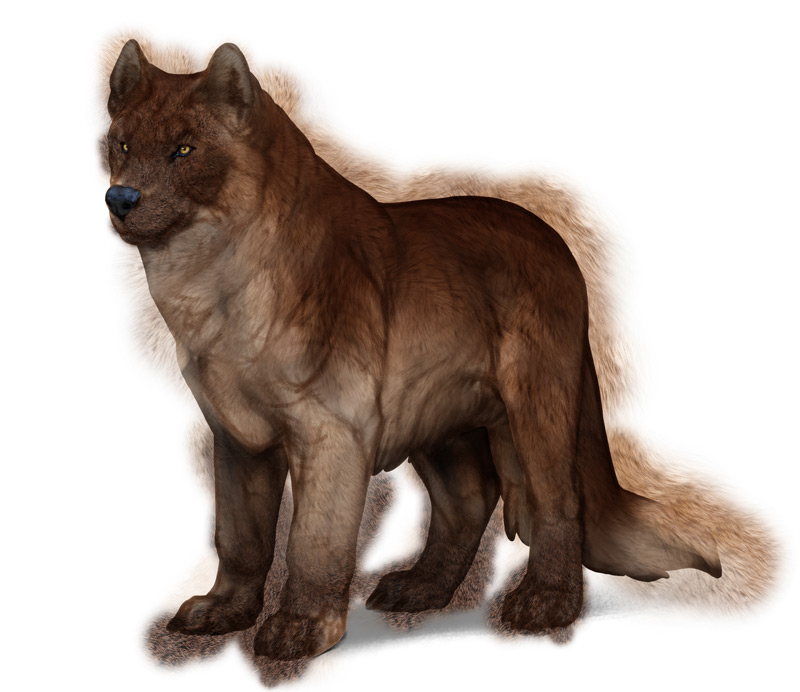
Step 3
My texture darkens the light part of the fur nicely, merely it'south barely visible on the darker part. To set this, y'all tin can duplicate the first layer for a concealment event and erase the parts that darken the brighter areas.
Step 4
This texture doesn't simply darken the colors below—it likewise makes them warmer. If y'all don't like this event, y'all can become to Paradigm > Adjust >Hue/Saturation and lower the Saturation. If the darkening effect is as well potent, yous can lower the Opacity of the layer.

Step v
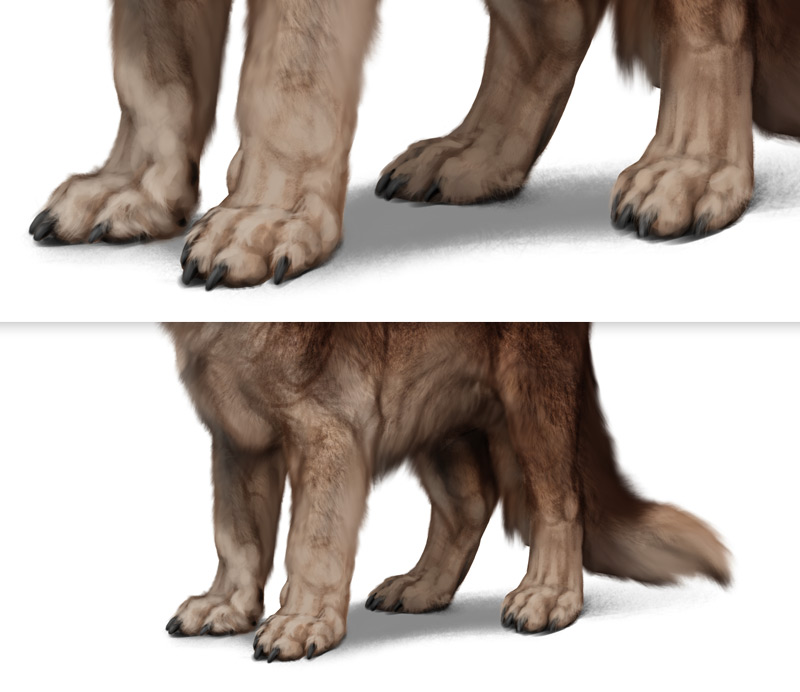
Fur may have different texture on different parts of the torso. For instance, on the paws and caput I've used the Polish brush (Multiply, low Opacity), and the Short Fur brush (Soft Light).

Footstep half dozen
The Fluff brush can brand the fur await less even and thicker, if used sparingly.
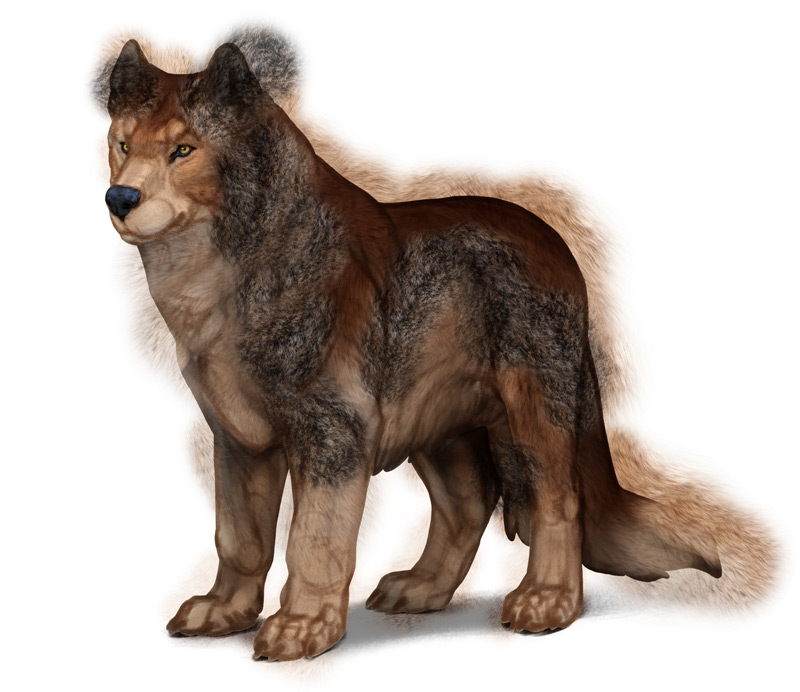
It seems to work best in the Soft Light manner here.
How to Finish the Fur
Pace ane
If you feel yous're done with the fur textures for now, it's fourth dimension to cut the parts that go outside of the body outline. To practise this, go to the mask layer and utilise the Magic Wand (Westward) on the white expanse outside of the body. And so become to each of the fur layer, ane past one, and printing Delete.
Step 2
Now select all the layers (except of the shadow on the basis) and merge them. If yous feel the textures made the fur look too warm, now it's a good time to lower the Saturation a little in the Hue/Saturation window.
Stride 3
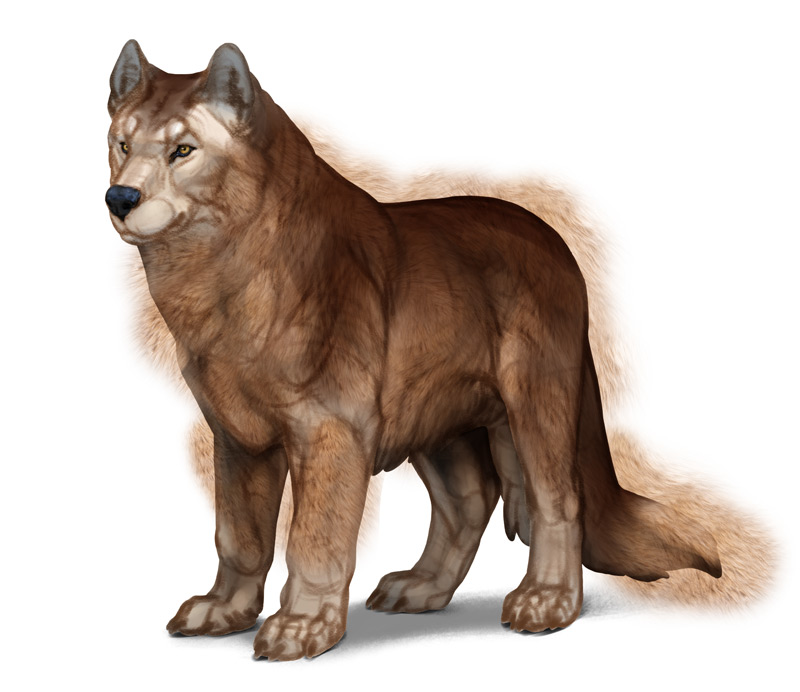
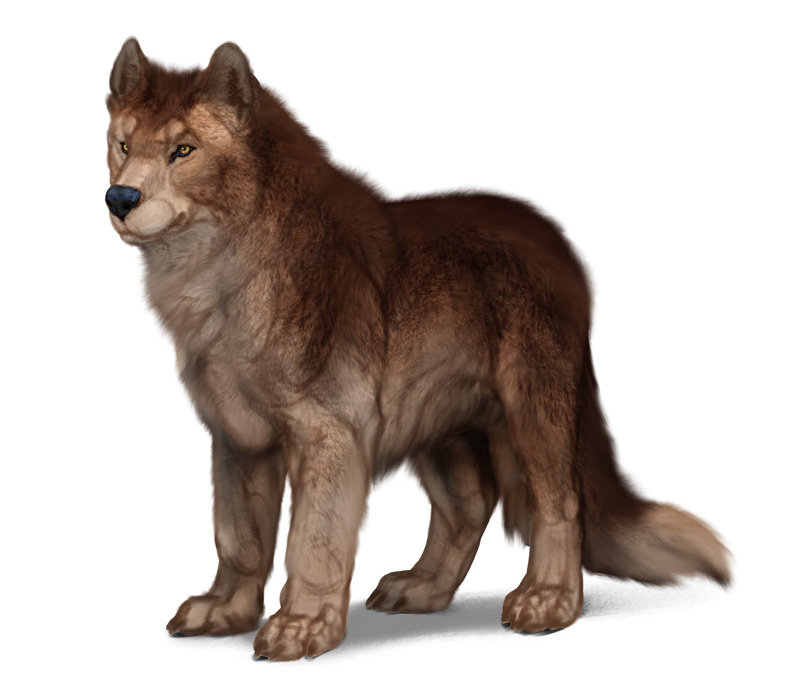
In that location'due south more than to fur than texture—fluffy fur should also touch the shape of the "edges" of the body. To brand these edges fluffier, smudge them with the Fur Maker brush from my Shadowbeast ready.
Step 4
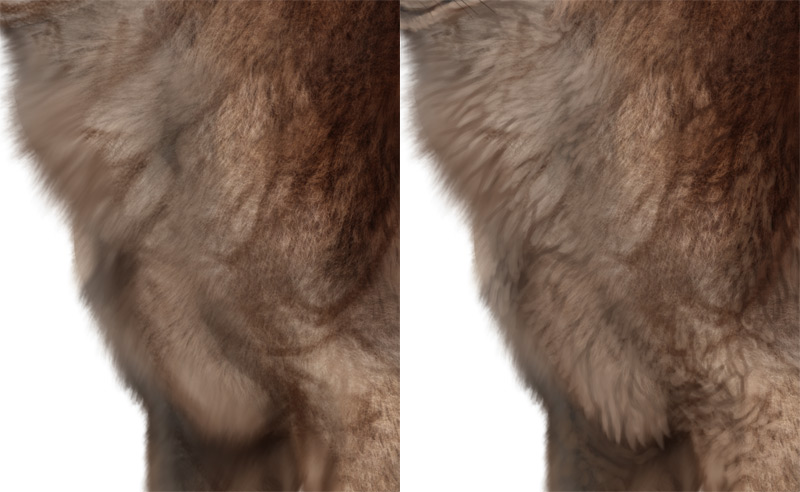
As yous can come across, there are parts where the fur looks pretty realistic, but there are also parts that stand up out every bit obviously sketched. Now your chore is to make the latter await similar to the quondam. Then zoom in and become to piece of work!
You can utilize a custom brush (like the Hair Tuft brush from the Shadowbeast set, or the Fur Strand from my Simple Fur Brushset), but most of the fourth dimension information technology'south improve to use something that gives y'all more than precision (like the Painter brush from the same gear up). Remember to always selection the color from the area with the Eyedropper tool, to proceed the colors consistent. Focus on covering the lines and making the smooth areas less smooth.
You tin can starting time from the paws and caput…
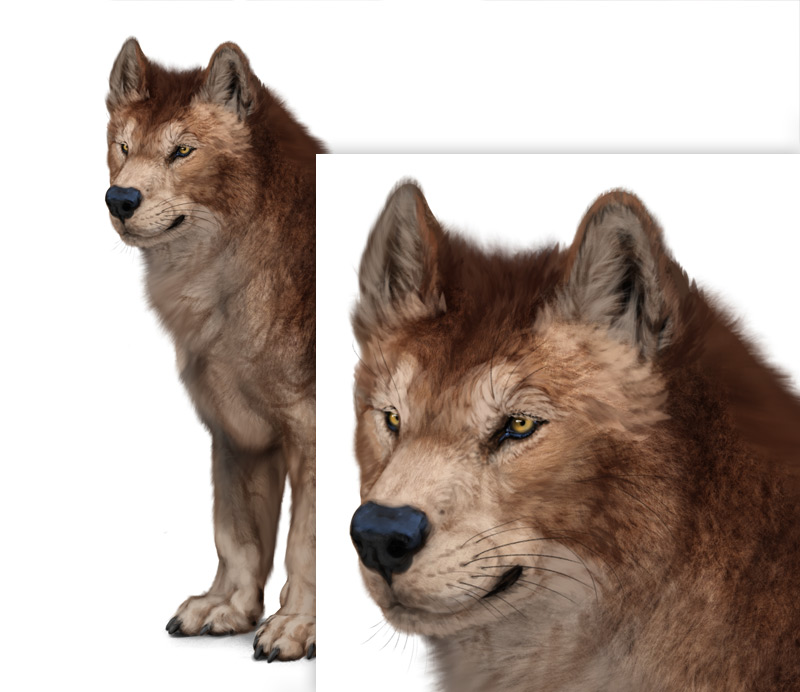
… then move to the residue of the body. Discover that I didn't actually add together that many changes—I've just added niggling shadows between the tufts of hair. I don't desire to embrace the fur textures—I merely want to blend them better with each other and the shadows of the line art. It may expect like magic, but it's really non—really small changes produce a great effect here.
You can learn more than about creating the effect of fur with shadows in these tutorials:
How to Draw Fur: Fluffy Fur + Fur Brush Prepare
In this tutorial I'll show y'all my method of painting fluffy fur. I'll be using Autodesk SketchBook…
How to Paint Fur: Short, Medium, Long, and Thick
Concluding time I showed you a simple method to shade in digital fine art. Nevertheless…
Step 5
When adding the details, you might've covered some of the previous details in the fur. So this is a expert time to take another await at the fur brushes and maybe add together something more! To avoid any changes to the colors, go to Image > Adjust > Grayscale and desaturate the textures.

Footstep 6
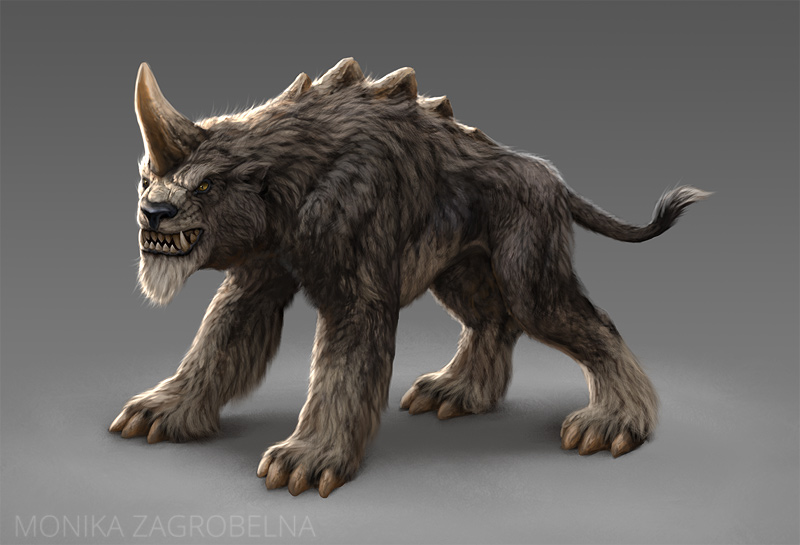
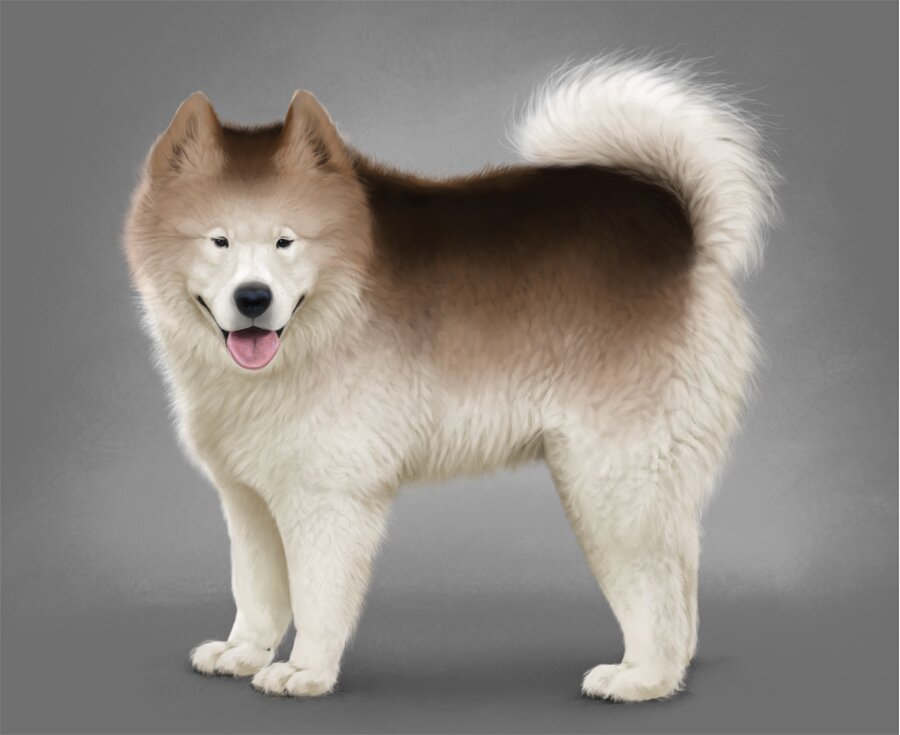
Finally, take a practiced look at the whole drawing and try to detect if anything looks off. In the case of fluffy fur it may be good to take a soft brush and paint over the edges of the body with white, to blend them with the background. This volition make the fur wait even softer.
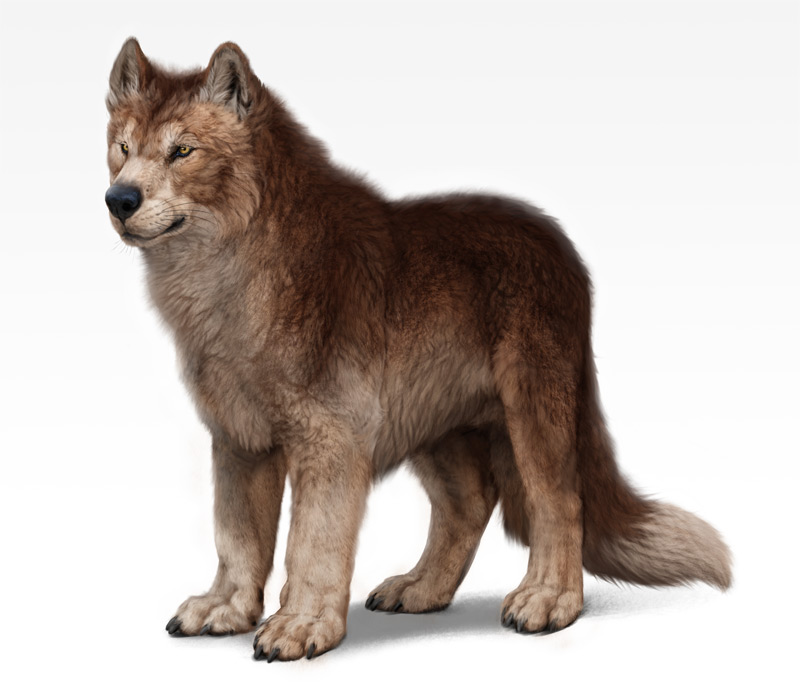
That's All!
I hope you lot found this tutorial helpful! Yous should now be well-equipped to use the fur brush sets in your artwork.
Did you observe this mail useful, helpful, inspiring? You can say "cheers!" past sending me a niggling donation:


Source: https://monikazagrobelna.com/2022/01/10/how-to-draw-fur-with-a-fur-brush-set/
Posted by: woodmanthemarly88.blogspot.com
0 Response to "How To Draw Wolf Fur Texture For 3d"
Post a Comment